Our 3 options are (in order of increasing complexity)
Dropbox
Manual Github
Git/Github with command line
Before we leap into version control - a quick intro to what it actually is. You’re writing code (either by yourself or as part of a team) and you need a backup in case something goes wrong. It’s also helpful to track all the changes you have made since the beginning of your project as evidence of a learning curve or incase you completely break something! Version control essentially takes photos of your code and then preserves them for posterity. You can certainly do it manually, by saving your file under a different name (v1, v2, v3, v4….) each time - but this sucks. Not only do most people forget to do it, but if you ever go back through it it’s not always obvious where, when or why you made the changes you did when you did. So ideally we want to automate this system - THAT is what a version control system does!
Dropbox
Free, simple and reliable. Download it here (https://www.dropbox.com/) and install. In a nutshell it creates a Dropbox folder on your computer - and anything you store in there will be automatically backed up online. You can also select individual other files and folders to be shared publicly or privately online. But that just gives you access to the most current version of your document online right? Nope! Dropbox also includes basic version control - i.e. it stores changes you make to ANY Dropbox shared file for 30 days. You can browse back through old version of files by logging into your Dropbox account online, right clicking on a file and selecting ‘Browse Previous Versions’. BAM - backup and versioning done automatically just by saving your code in the right place.The bad news - that 30 days time limit is a killer and there’s no information about how or why changes were made (or by whom if you’re sharing the folder with friends). You can extend the time period if you pay for the full version which costs ~US$40 per year. If these don’t bother you then use this option (it will save time and confusion!).
Manual Github
(i.e. i can’t install software on the computers i use)The main benefit of this option is to allow you to maintain an online code repository without having to install anything (good for tightly locked down systems!). First of sign up for a free Github account here: https://github.com/ This will allow you to create repositories (folders) in which to store different code. When you’re at a point you want to backup your code simply copy and paste your code into a new file on Github - then select ‘commit’ and add a little commit message down the bottom of the page. When you want to create a new version - simply navigate back to the file, select ‘edit’ from the top right and then copy paste your new code. Github will compare your new code to the old one and highlight any changes that have been made.
Step by Step instructions: How to create a new ‘repository’ [i.e. folder for your code]
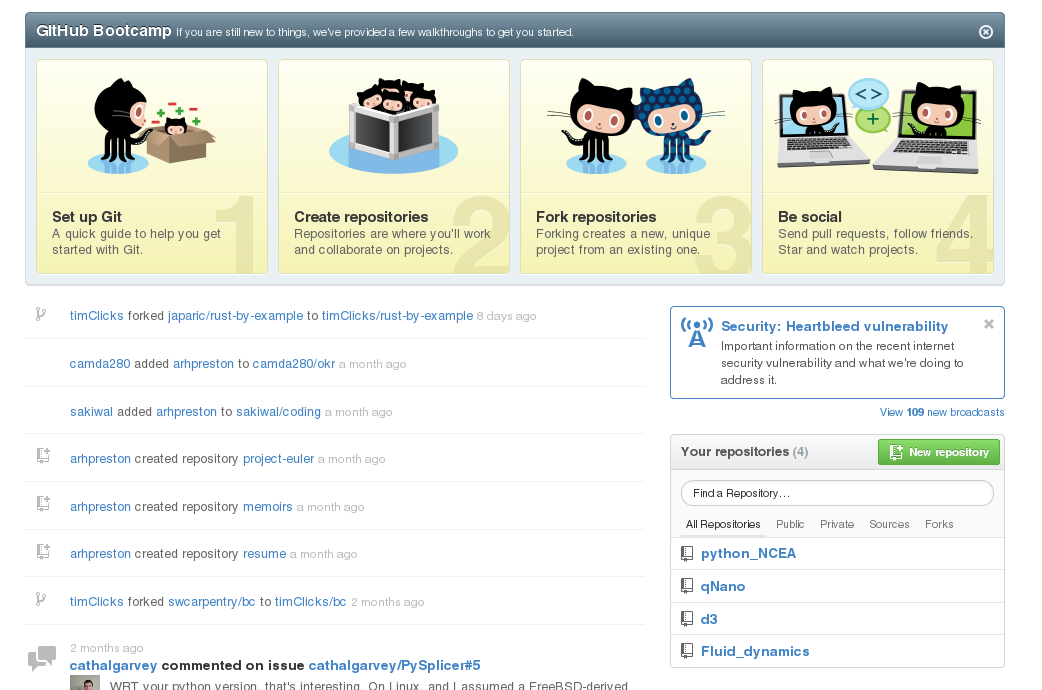
1) Signup to github - then select ‘New Repository’ [Green button on the right in the image below]
2) Give your repository a name and description and check the ‘Initialize this repo...’ box. a README is a simple text document that explains what your programe does, how it works and how to run or install it. 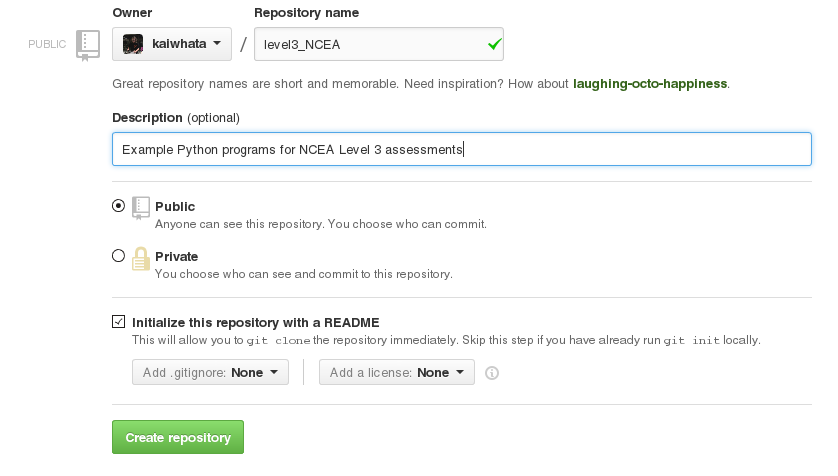
3) Once you have created your repository, it comes with a readme file and now we want to add another code file to it. Select the box with a ‘+’ in it next to your repository name (shown below)

4) Paste your code into the black window, and give your file a name (mine is called rock_paper_scissors). remember that python files should be called: name.py. Then ad a commit message (what you’re doing and why you’re doing it) - then select commit new file 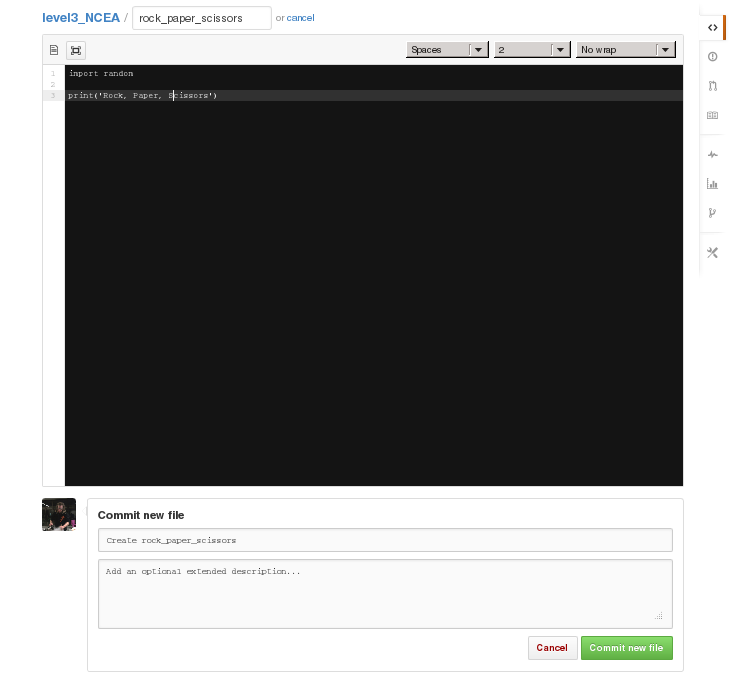
5) Once you have made your commit you will see the file name added to your repository.
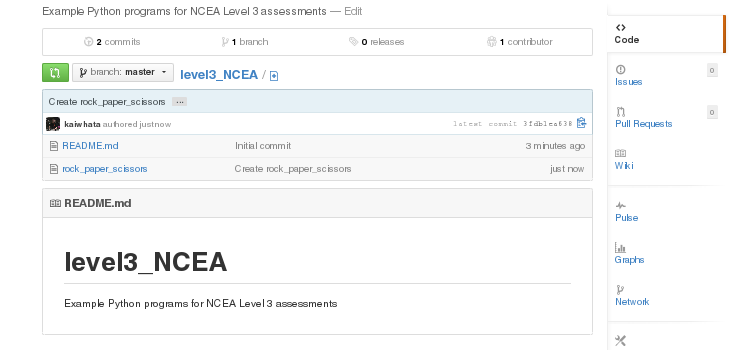
6) You can edit any of these files by clicking the file name and then picking ‘edit’ (shown below).

These repositories can also be cloned to any computer when they can be separately (or downloaded directly from the website).
If the manual nature of this is bothering you - there are a set of command line tools you can run off of a USB stick that run the git program for doing this automatically (more details about this at the bottom of the document).
Git/Github with command line
Follow through the steps above creating a free Github account.even without installation access to your computer there are utilities that allow you to synchronise your code using the command line that run happily off of a USB stick such as this one: http://portableapps.com/node/
When you run this software a command line prompt will appear (i.e. a black window with white writing) that you can then type standard git commands into to synch folder and directories with your online versions or to make commits. There's a reasonable tutorial on what the commands are here and here, and if any of the steps don't make sense then compare them to what we're doing manually above (I've tried to use the same terminology to make the comparisons clear).
No comments:
Post a Comment